
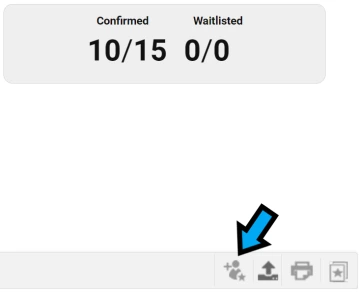
Roster Management
Your class roster is comprised of learners who have enrolled in your offering. Your roster will later be used to grant credit to your learners for attending your class.
Adding Learners
1. Select the Add Learner icon.
2. Type the name or NetID or first and last name of the learner you wish to add.
3. Select the Plus (+) icon next to the learner you wish to add.
4. Select Register.
5. You will receive a confirmation that your learner has been added successfully.
Dropping Learners
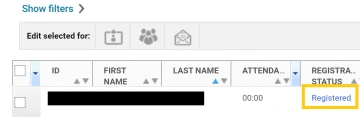
1. Find the learner you wish to drop from the class.
2. Select Registered under the Registration Status column.

3. Select "Drop registration for these learners" or "Drop this registration without a late charge"
Please note: EDGE trainings DO NOT have late charges associated with them. Selecting this option will not result in a charge.
4. Enter a reason for dropping the learner from the class and select Save.
5. The learner will receive a system generated email stating they have been dropped from the class.
Rescheduling Learners
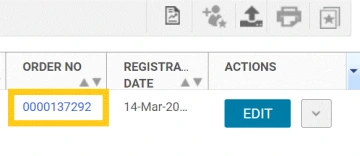
1. Find the learner you wish to drop from the class.
2. Select the learner's order number under the Order No column.
3. A new window will open. Scroll down and select Reschedule.
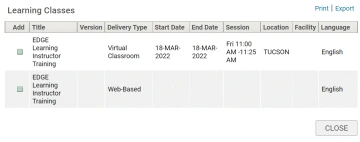
4. Select the checkbox under the Add column next to the class you want to switch the learner to.
5. Enter in a brief reason for making the change and select Save.
Generating PDF Sign-In Sheet
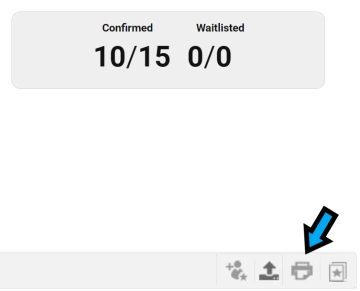
1. Select the Print/Export icon on the right-hand side of the screen.
2. Select the session you wish to pull the roster for by clicking the bubble next to the class. This will open a new window that will have your PDF. This includes the participants' names and a spot for them to sign.